Watch the video of my DIY installation of self levelling floor compound.
After giving it a go and getting a good, albeit imperfect, result, I feel I've learnt some things you could benefit from.
Here are my tips...assuming you have already primed your floor. I used Setcrete liquid primer, watered down 1 part Setcrete to five parts water. I only primed once but maybe twice would have been better.
You can do it on your own. You don't need someone to do the mixing as you do the pouring/spreading. It would give you more time to work the compound, but it's not essential.
If you work alone, you may as well have just one mixing bucket. I had two but realised the second bucket was redundant.
Buy one rigid plastic 25ltr bucket (from Screwfix) if you're working alone or two if you have a helper. It needs to be a rigid bucket and even though you're only adding 5ltrs of water, it needs to be this 25ltr size bucket or you will spill.
Have another bucket nearby full of water. It could be a 30ltr rubber bucket.
Have a measuring jug ready if you don't have measures on your mixing bucket.
Put the water into the bucket/buckets before adding the compound.
Add half of the compound to one bucket.
Mix with a normal drill...you don't need a proper mixer. However, to reduce the stress on your drill, start off the mixing by hand. Just stir with the whisk bit until the majority of the dry material is submerged.
Add the other half of the mixture, mix manually for a few seconds and then mix electrically, but not for too long or you will warm up the mixture.
Leave the compound for two minutes, then mix the mixture once again, being sure to stir up all the sediment at the bottom.
Quickly pour some pools of compound onto the floor, starting with the furthest corner, wall or doorway. If you start at your front door, start with it open, spread out the mixture at the doorstep, close the door and lock it before moving out. You won't be able to get back to your door for hours.
Use a plasterer's trowel to spread out the mixture. Self levelling floor compound will not move about on it's own. Think of buttering toast. You have to first spread out the butter all over the toast and then it will melt down. Self levelling floor compound is the same. It will melt down but it won't move out very much, unless you pour a large amount in one spot, but it won't spread out enough before it starts to set, and you'll be left with a hump. The roller will not spread the compound.
Cover the floor with the mixture one area at a time, trying to not leave an edge to dry out.
Roller over with the spiked roller to burst the bubbles.
Once you've covered the floor, and assuming your compound hasn't started to dry, walk over it with spiked shoes and roller over it with the spiked roller to burst the bubbles.
If you laid a very thin layer, it will dry a lot faster and you probably won't be able to go over it all again with the spiked shoes on to roller it.
You won't need more than the bag says you'll need unless you have a sloping floor or noticeable peeks and troughs. Buy extra though just in case but don't be too sparing when applying.
Any edges can be blocked off using a wooden baton glued down. Remove after a few hours before the adhesive has dried.
Leave to dry out and sand off any dimpled surface.
Prime two times before tiling.
Self Levelling Floor Compound
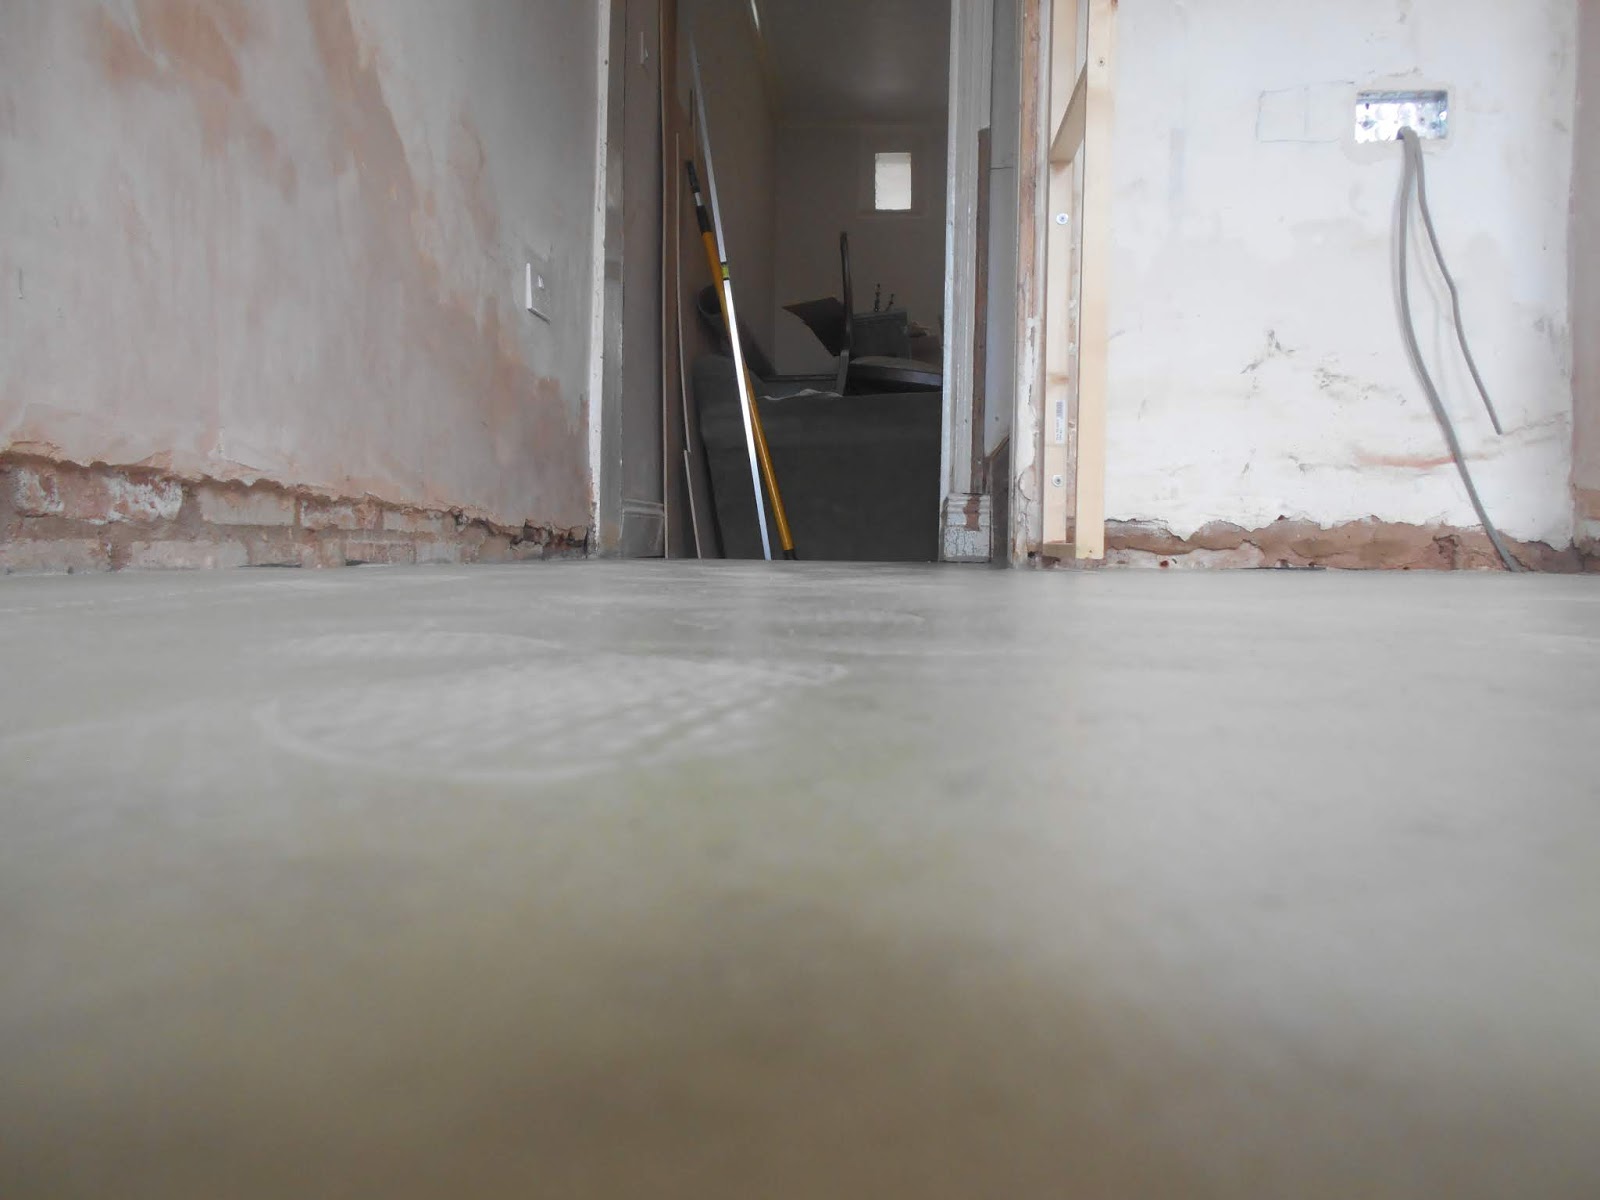
Above is my kitchen floor after the self levelling compound installation and after two coats of Setcrete primer.
Self Levelling Floor Compound
The floor ended up very flat but it did have some orange peel surface patches. This could have been for a number of reasons. One could be that I could go over the floor for long with the spiked roller as the compound was drying very quickly (it was a very warm day) and I didn't have spiked shoes, so I left footprints making walking on the compound impossible.
Self Levelling Floor Compound
Another reason could be that as the layer was so thin, the original concrete floor was exposed in the highest areas. This is fine by me as it levelled out the floor. But if you need a perfect surface finish then be sure to not scrimp on the compound as much as I did. I was afraid I wouldn't have enough having read lots of accounts of people needing several times the recommended numbers of bags. In the end, I used less than the recommended amount so needn't have worried.
Self Levelling Floor Compound
The floor has ended up a lot flatter and smoother than before, so tiling is going to be a lot easier. I sanded out most of the orange peel finish.
Self Levelling Floor Compound
Diddy the dog is really happy with the floor too.
Self Levelling Floor Compound
Some areas were like a pool table they were so smooth and flat.
Self Levelling Floor Compound
This is the worst of the dimpling. I'm pretty sure it was due to it being thin in these areas.
Self Levelling Floor Compound
The photo above is a snip from my video taken to show the fibres in the compound in the areas with the orange peel surface. The fibres were visible in all of the orange peel areas. They were quite spiky and stuck out by up to half a centimeter. I don't know if they contributed to the orange peel surface or if they only came to the surface because the skim was thin in the higher areas. However, Mapei 3240 does say it can be as thin as 3mm so these fibres are too long and certainly too spiky. If you were wanting to paint your floor then you would have trouble painting over them and they didn't sand out either. I don't know why they use such thick and spiky fibres where they could use very fine ones. I did some research into these fibres to see if other people had experienced the same problem but couldn't find anything. If you know about it then please leave a comment.
That's it....If you have any additional tips for self levelling floor compound installation, please leave a comment below.
Impressive. Well done. Think I'll have a go myself. Didn't realise the spikey roller was a thing. I have a sloping floor, so I'm uncertain how this will go. I will have to batton off down the slope in sections I guess. Much appreciated. Thanks.


Impressive. Well done. Think I'll have a go myself. Didn't realise the spikey roller was a thing. I have a sloping floor, so I'm uncertain how this will go. I will have to batton off down the slope in sections I guess.
ReplyDeleteMuch appreciated. Thanks.
Sorry for never replying to this comment. I didn't receive a notification. How did your self leveling job go?
Delete